
Dessert Recipe: Pumpkin in Coconut Cream
Ingredients:
Ingredients:
- 50 grams of pumpkin
- 20 grams of sugar
- 30 grams of coconut milk


| คุณมีรายจ่ายมากกว่ารายได้อยู่ใช่หรือป่าว ถ้าใช่ สแกนเลย รออะไร เข้าไปหาเงินใช้กันดีกว่า |


|
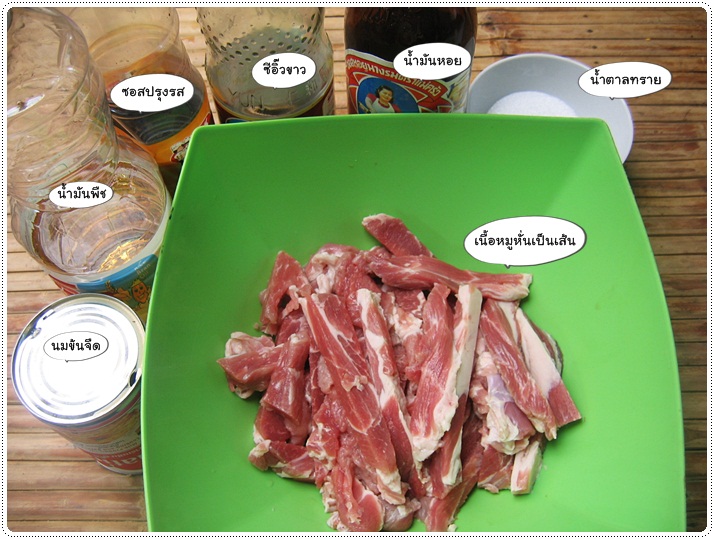
ส่วนผสม - แป้งเกี้ยว(แบบแผ่นบาง) 2 กิโลกรัม - เนื้อปู 300 กรัม - เนื้อหมูบดละเอียด 1,600 กรัม - มันหมูบด 600 กรัม - เห็ดหอมแช่น้ำหั่นเล็ก ๆ 200 กรัม - เกลือป่น 2 ช้อนชา - น้ำมันหอย 5 ช้อนโต๊ะ - น้ำตาล 4 ช้อนโต๊ะ - พริกไทย 3 ช้อนโต๊ะ - น้ำมันงา 8 ช้อนโต๊ะ - แป้งมันหรือแป้งตั้งหมิ่น 12 ช้อนโต๊ะ - รสดี 3 ช้อนโต๊ะ - ไข่ขาว 4 ฟอง - ซีอิ้วขาว 4 ช้อนโต๊ะ - ต้นหอมซอย แครอทหั่นสี่เหลี่ยมเล็ก (แต่งหน้า)
วิธีทำ เตรียมส่วนผสมทุกอย่างให้พร้อม 1. แผ่นเกี้ยวสำเร็จรูปนำมาตัดเป็นวงกลม
2. เตรียมส่วนผสมทุกอย่างให้พร้อม
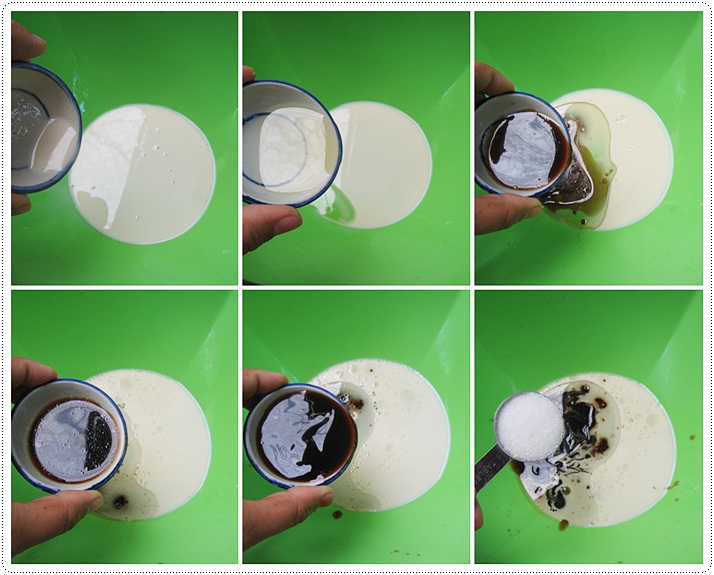
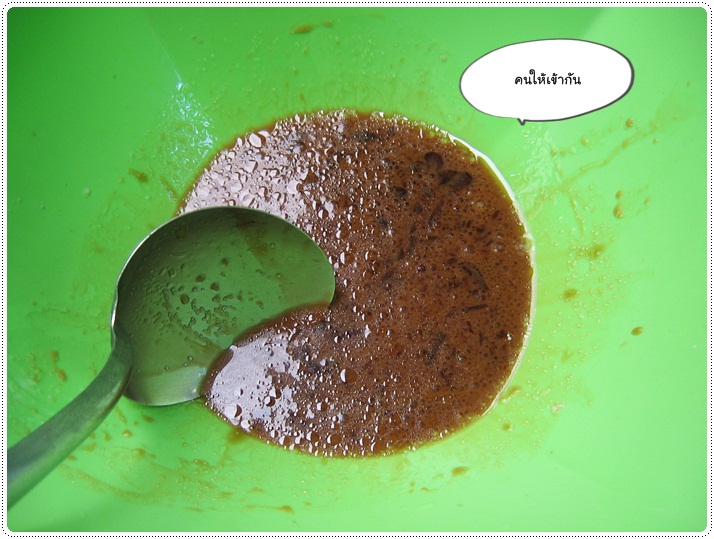
3. ผสมส่วนผสมทุกอย่างเข้าด้วยกัน นวดให้เนียนเข้ากันดี และเหนียว
แผ่นเกี้ยวที่ตัดไว้ นำมาเช็ดแป้งนวลที่แผ่นออกก่อนจะห่อไส้ มิเช่นนั้นขนมจีบจะแข็ง 5 ห่อขนมจีบ โดยนำเนื้อหมูประมาณ 1 ช้อนโต๊ะ วางบนแผ่นแป้ง จากนั้นใช้นิ้วจีบให้รอบเต็มแผ่นแป้งเกี้ยว วางบนรังถึงที่รองใบตองไว้
ตักไส้ใส่ประมาณ 1 ช้อนโต๊ะ
จับจีบให้สวยงาม
6. เตรียมรังถึงสำหรับนึ่ง (รองใบตองไว้)
7. นึ่งให้สุก 12 นาที
ขนมจีบสุกแล้ว 8. เตรียมน้ำจิ้ม (ซอสเปรี้ยว)
|

Click here go to my shop> https://www.facebook.com/shopingbestsaller

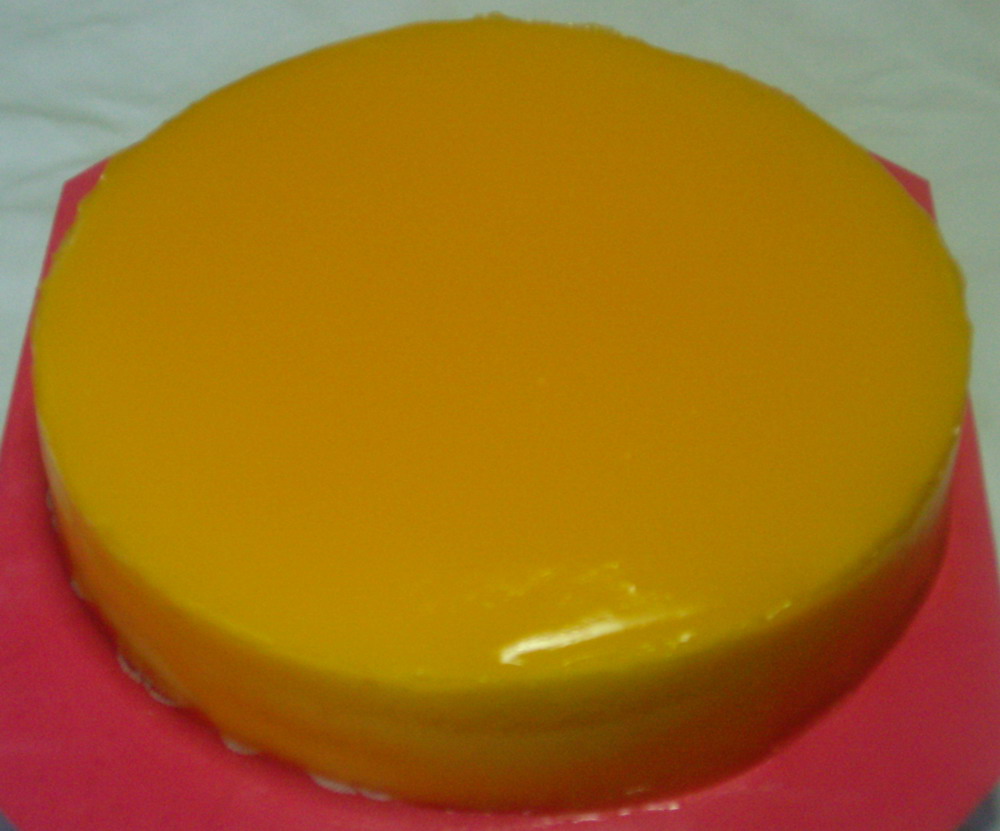
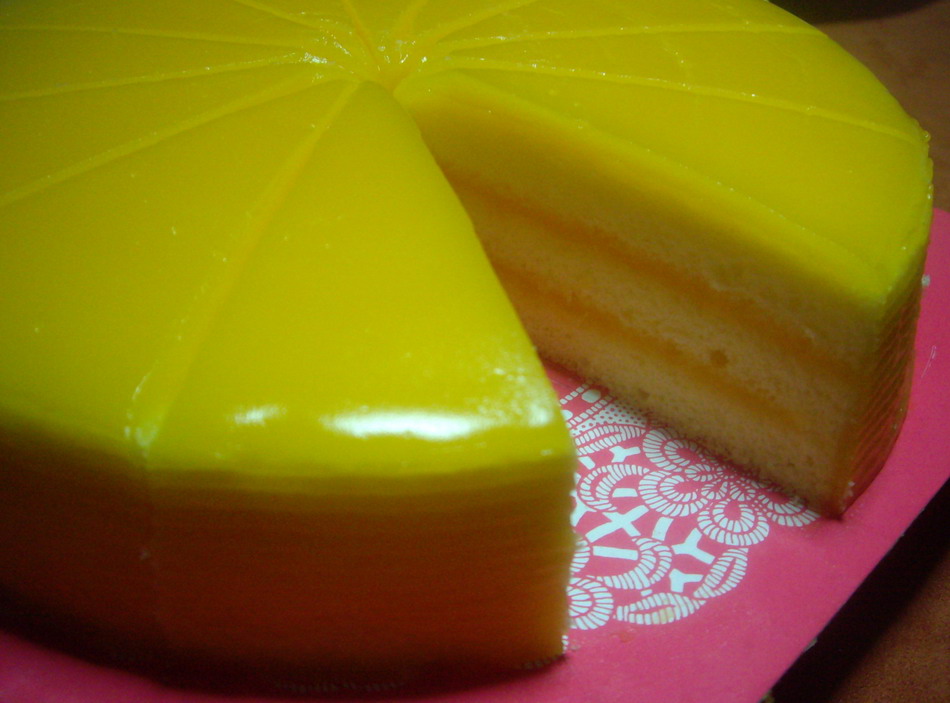
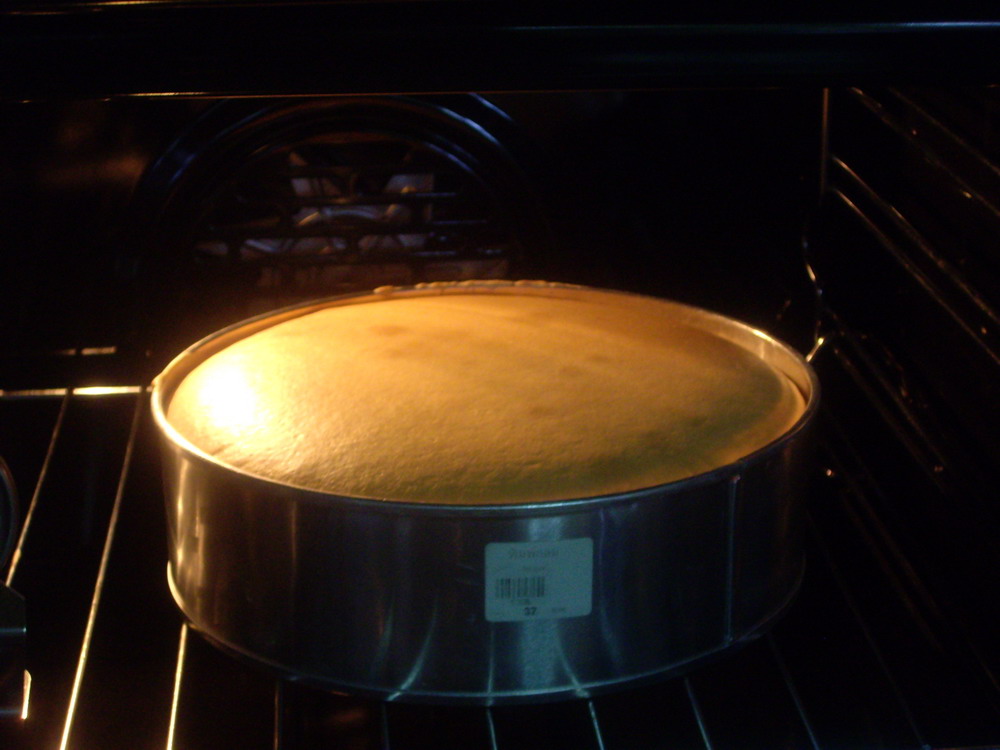
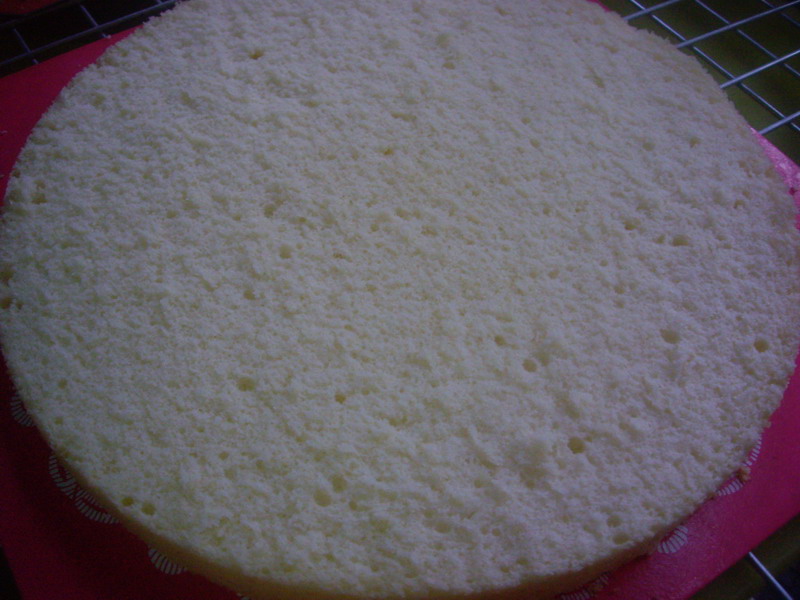
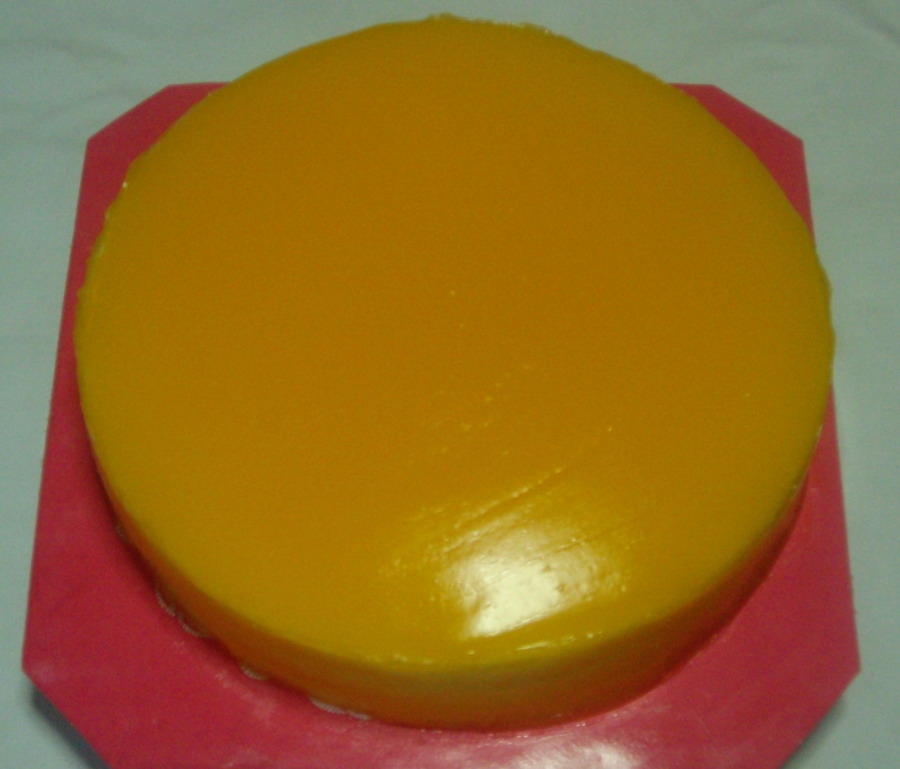
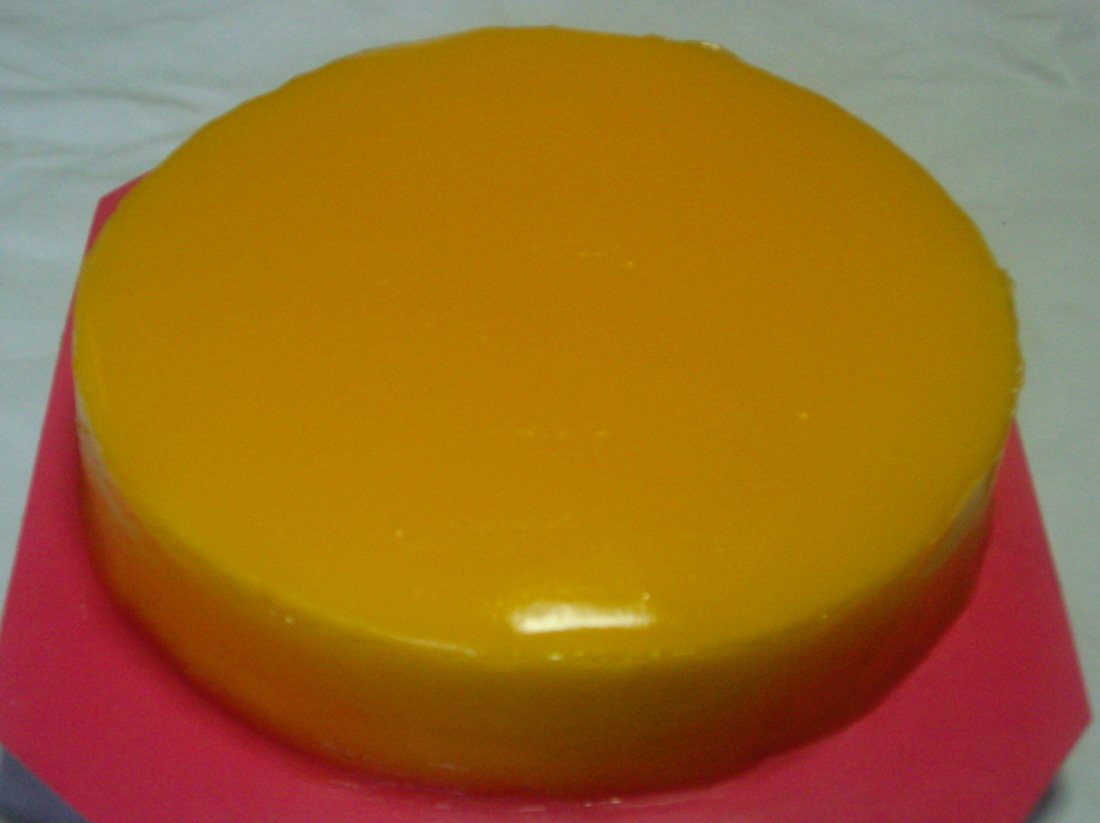
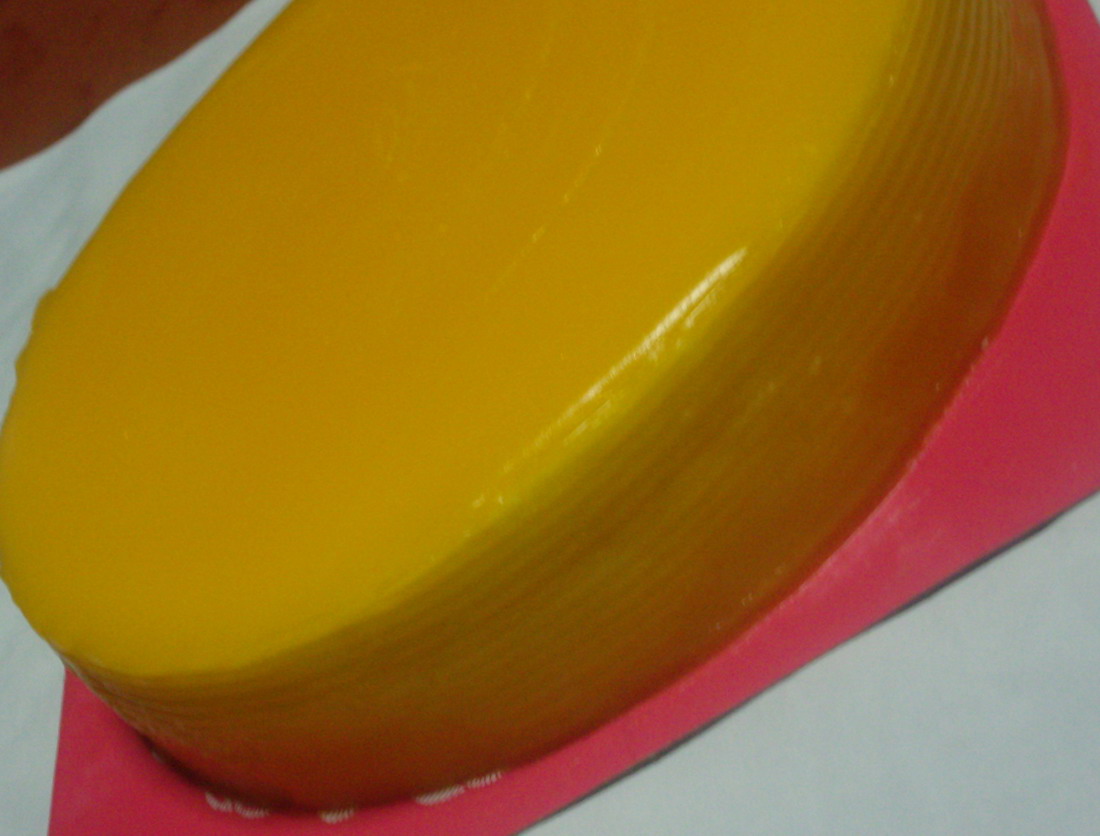
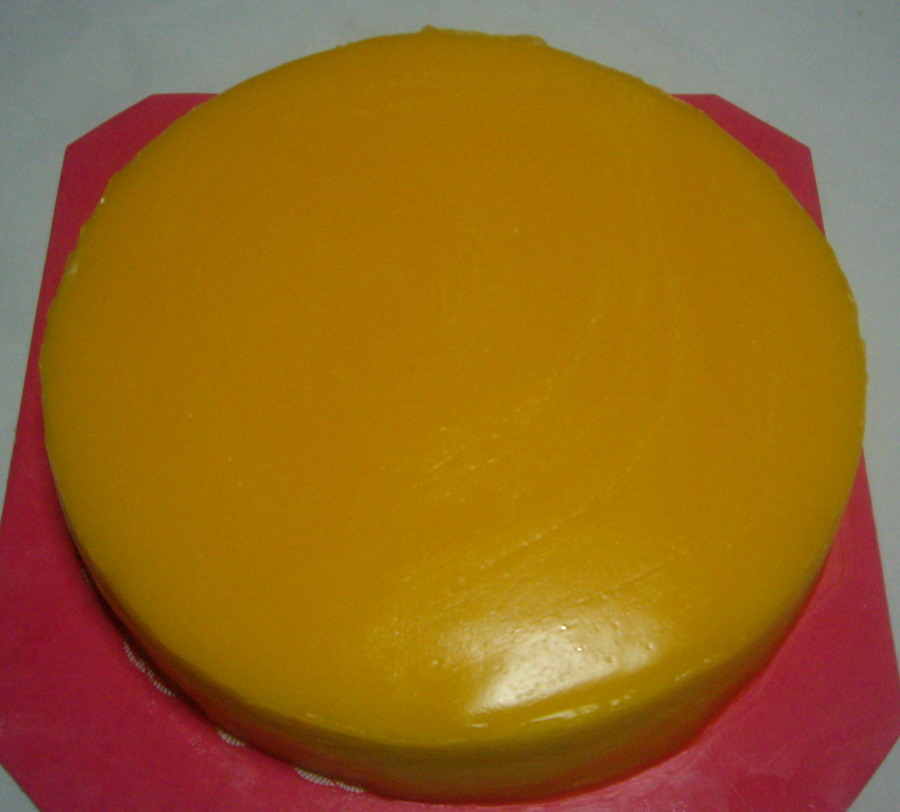
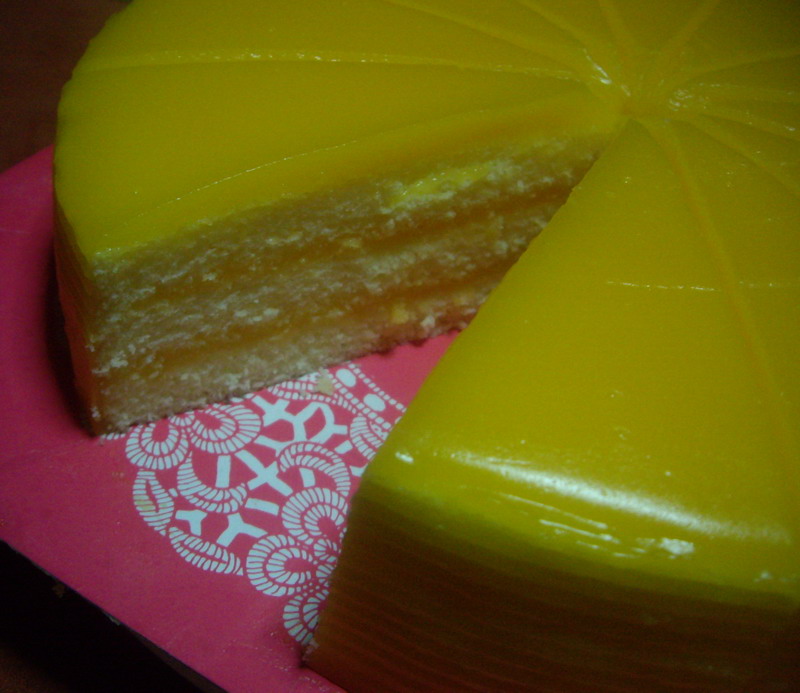
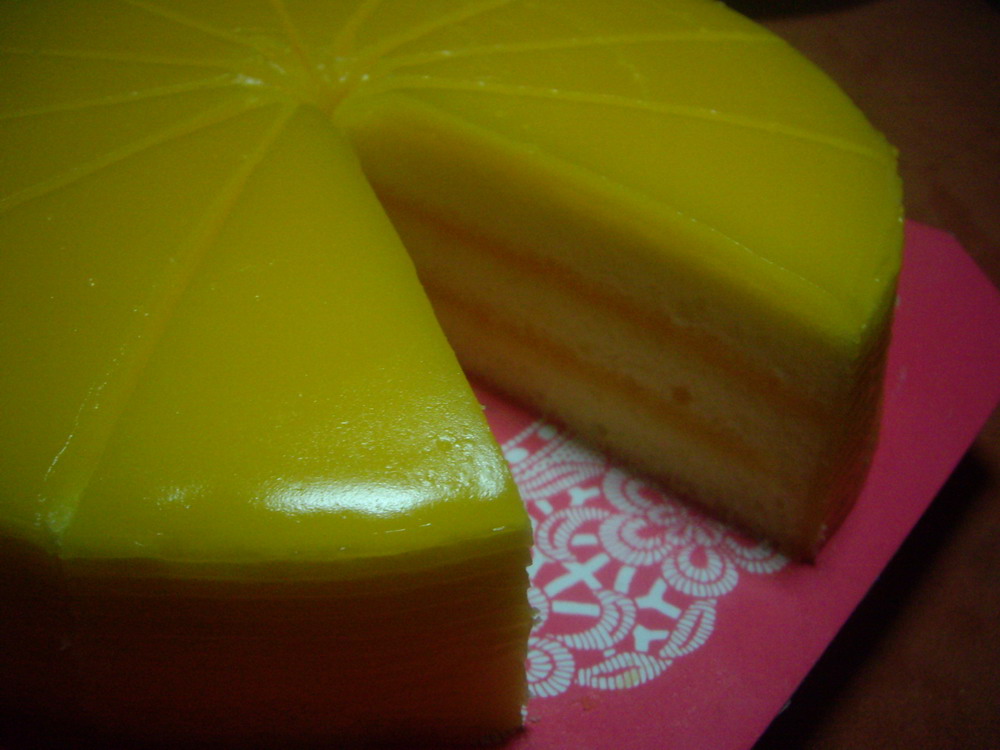
Mandarin Orange Cake


